Filters
Overview
The Filters widget provides a declarative way to define how users can filter data displayed by other widgets (such as Table or DataGrid).
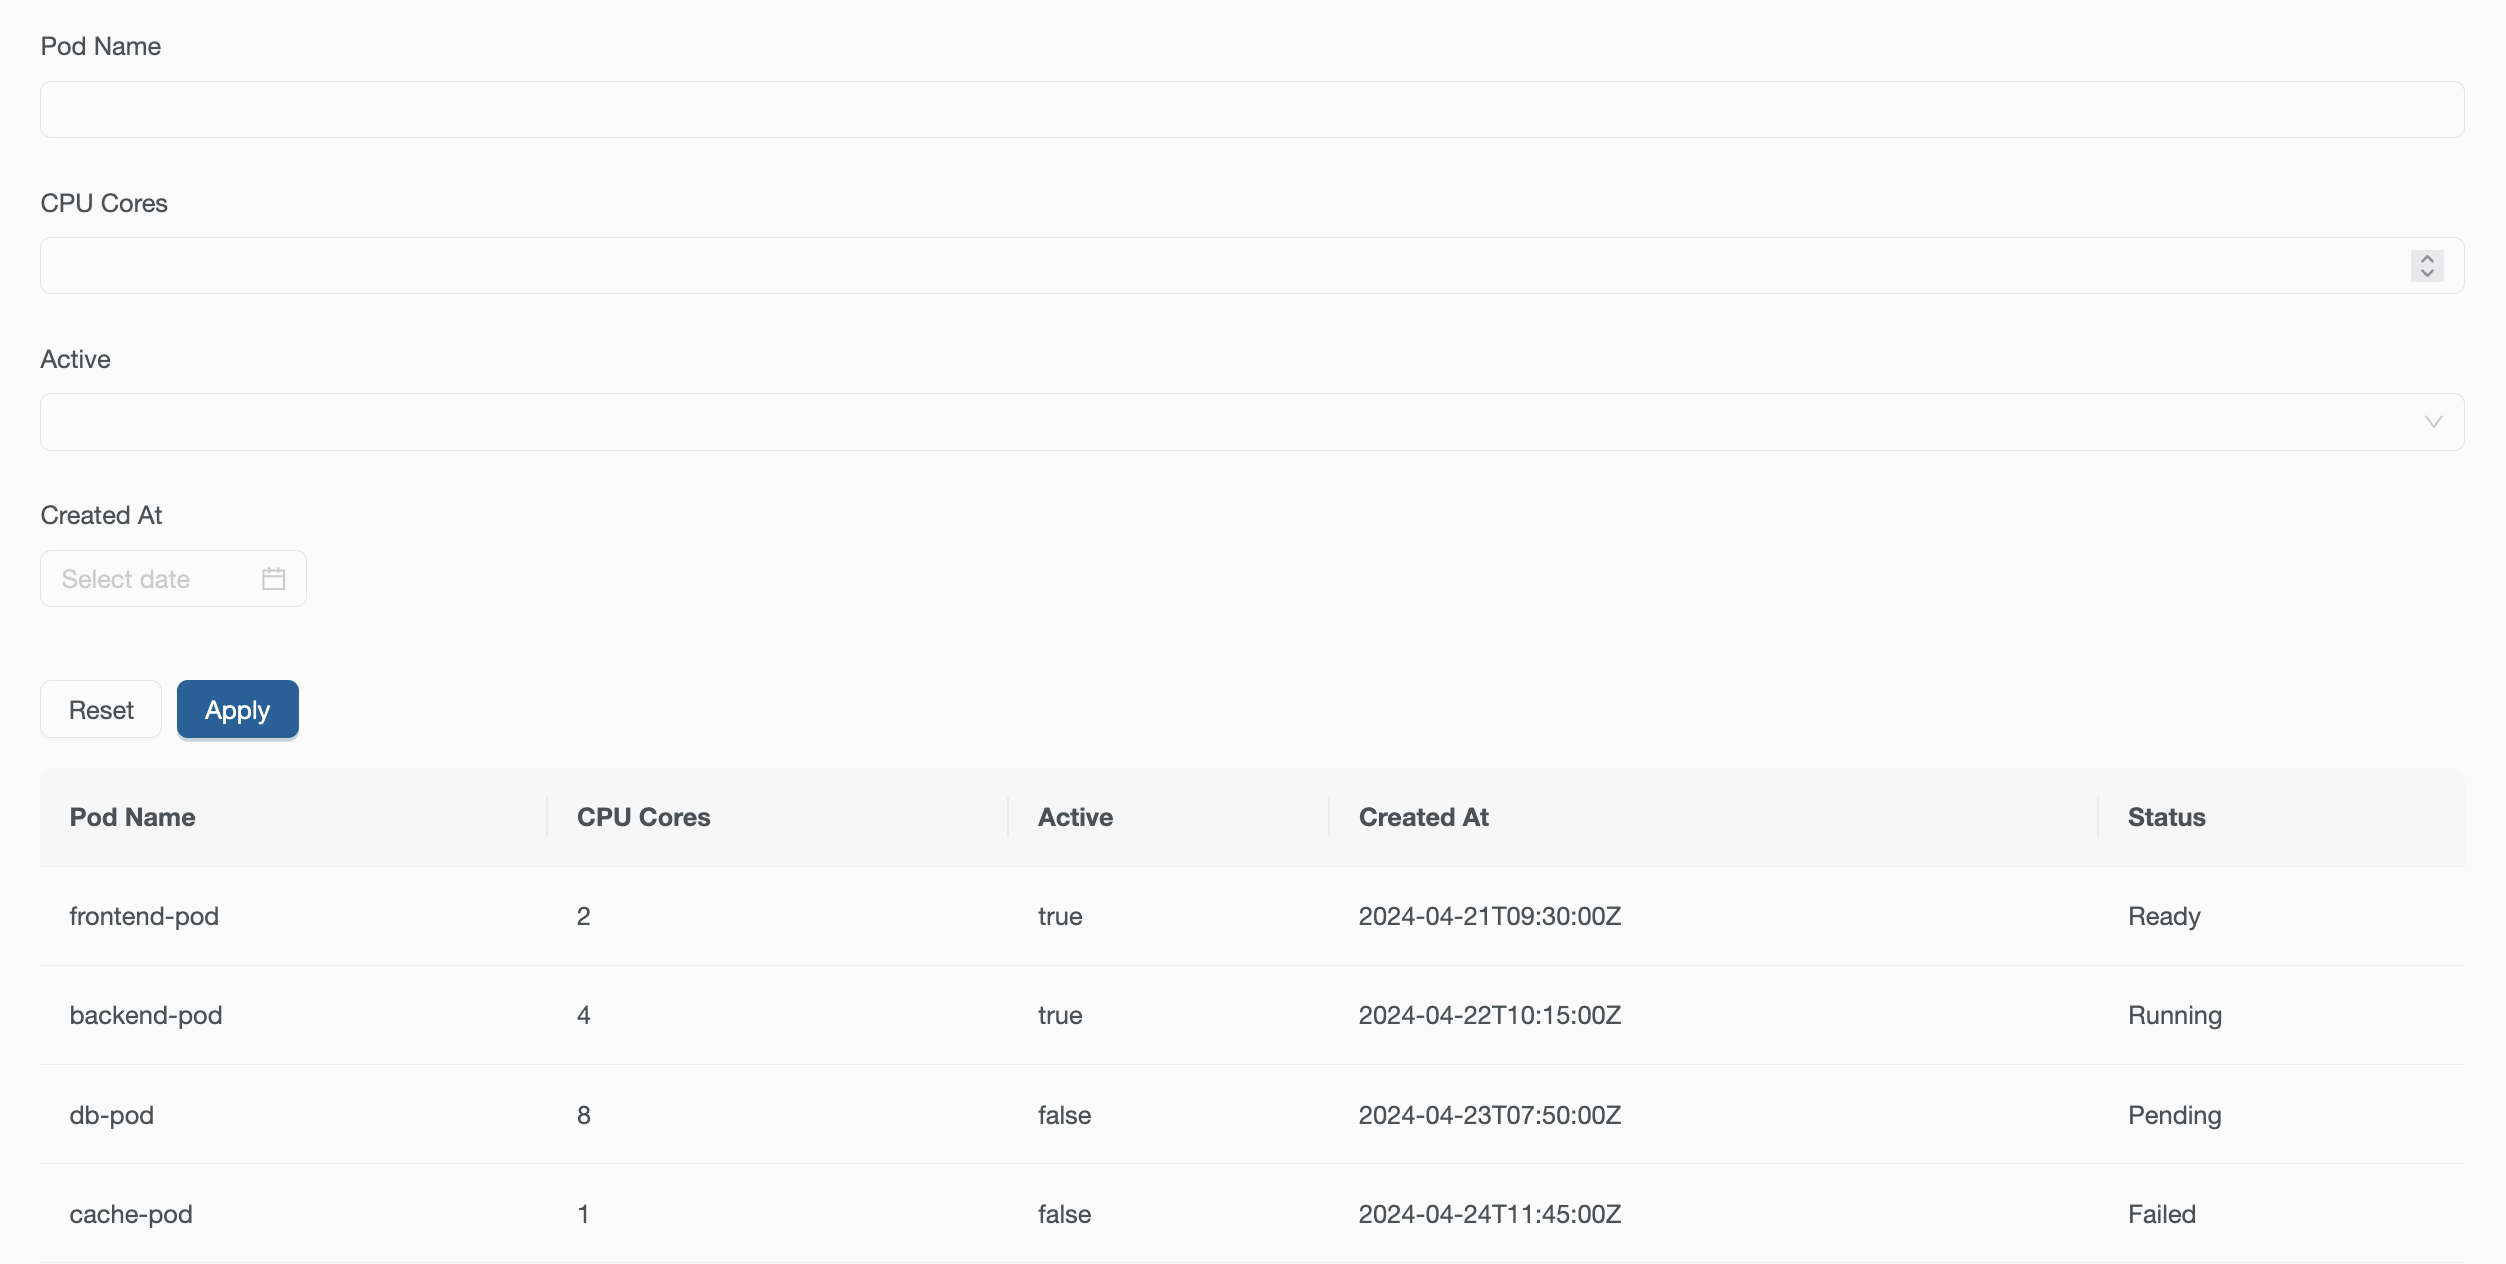
Visually, the Filters widget is rendered as a form containing one field for each filter defined in its configuration. Each field represents a filter that can be applied to a target widget. Two actions are available below the fields: the Apply button submits the form and applies the configured filters, while the Reset button clears the form and removes any previously applied filters.
Filtering is based on a shared string identifier called prefix:
- The
Filterswidget defines which filters exist and on which field they should be applied - Target widgets declare which prefix they listen to
- When prefixes match, filters are applied automatically
This allows filtering logic to be configured entirely via YAML.
Filters are applied client side by the frontend logic. Reloading the current page will always reset any filter applied.
Prefix
The prefix is the linking mechanism between a Filters widget and the target widgets it filters:
- Filters are stored and evaluated per prefix
- Multiple widgets can share the same prefix
- Prefixes must match exactly
- If a target widget does not declare a prefix, or declares a non existing one, it will not be affected by the filters
Creating a filter
Each filter is defined as an entry in the fields section of the Filters widget. The following properties should be defined:
name: one or more dot-notation paths identifying the target field(s)type: the filter type (string,number,boolean,dateordaterange), that should match the type of the target fieldlabel: the user-facing label shown in the filter form
The name field accepts a list of paths. A filter matches if any of the listed paths matches the target data.
Example
Assume a Table widget displaying a list of pods, with a column named name. In this example, the table has two rows with different values inside the name column. To allow filtering, this widget defines a prefix.
Create a example-table-with-filter.yaml file with the following content:
kind: Table
apiVersion: widgets.templates.krateo.io/v1beta1
metadata:
  name: example-table-with-filter
  namespace: krateo-system
spec:
  widgetData:
    allowedResources: [barcharts, buttons, filters, flowcharts, linecharts, markdowns, paragraphs, piecharts, yamlviewers]
    prefix: example-table-with-filter-prefix
    columns:
      - valueKey: name
        title: Name
    data:
      -
        - valueKey: name
          kind: jsonSchemaType
          type: string
          stringValue: "frontend-pod"
      -
        - valueKey: name
          kind: jsonSchemaType
          type: string
          stringValue: "backend-pod"
The goal is to filter the table based on the value of the name column. To do that, we will need a string filter that points to the name field. A descriptive label is used to clearly indicate that the filter applies to the pod name. Finally, the same prefix defined for the table is reused in the filter definition.
Create a example-table-with-filter-filter.yaml file with the following content:
kind: Filters
apiVersion: widgets.templates.krateo.io/v1beta1
metadata:
  name: example-table-with-filter-filter
  namespace: krateo-system
spec:
  widgetData:
    prefix: example-table-with-filter-prefix
    fields:
      - label: Pod Name
        name:
          - name
        type: string
To actually create the two widgets, execute the following commands:
kubectl apply -f {YOUR_PATH}/example-table-with-filter.yaml
kubectl apply -f {YOUR_PATH}/example-table-with-filter-filter.yaml
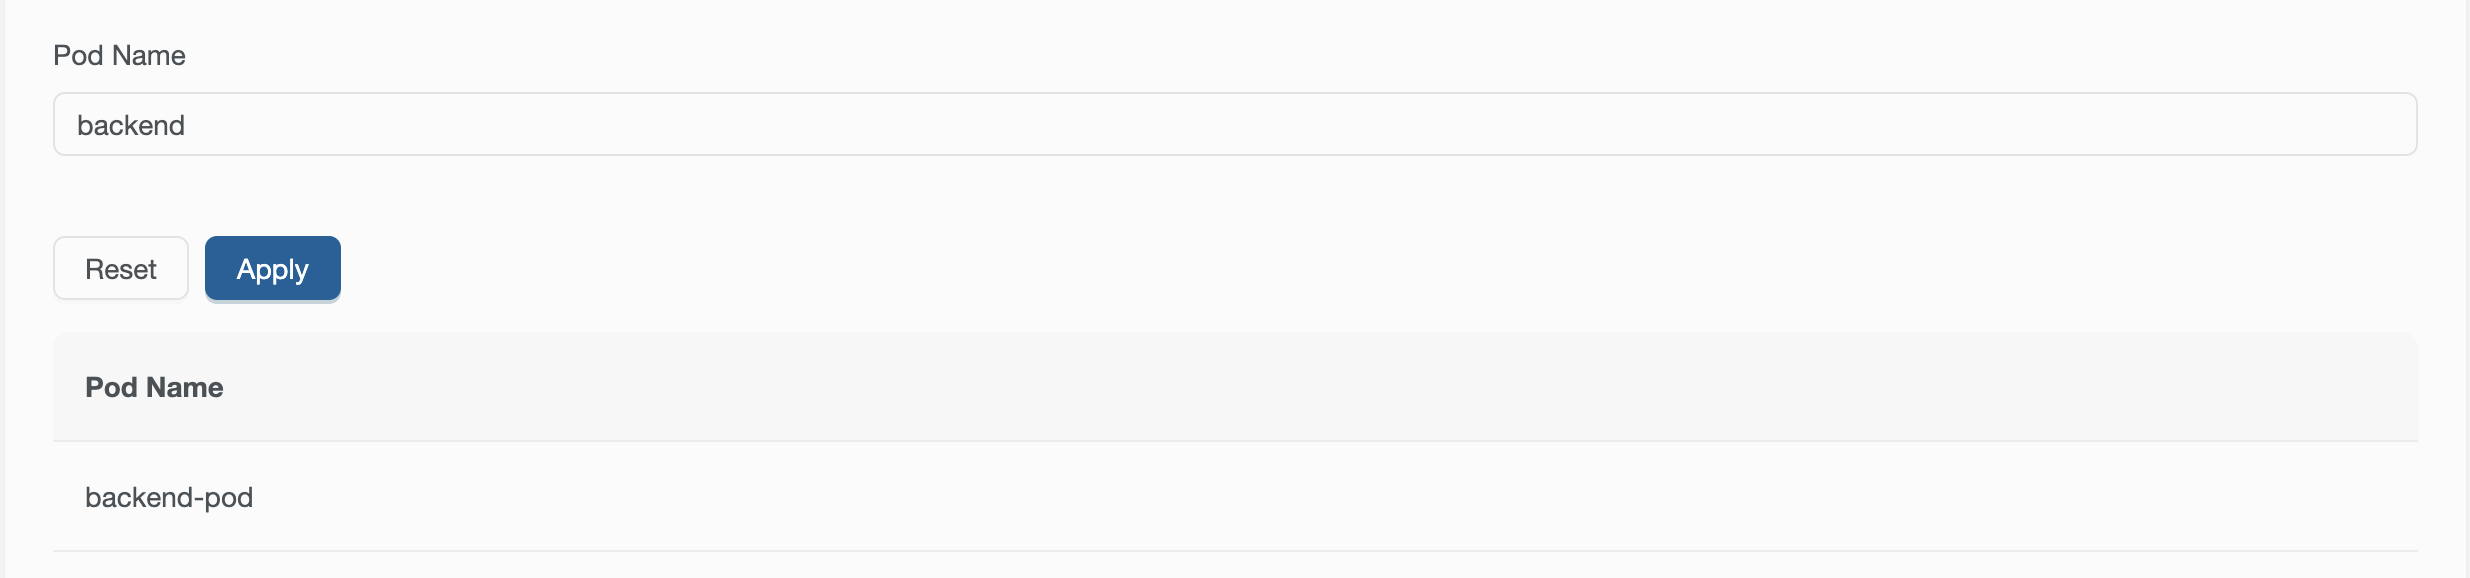
Once both widgets are configured and applied, this is the final result displayed:
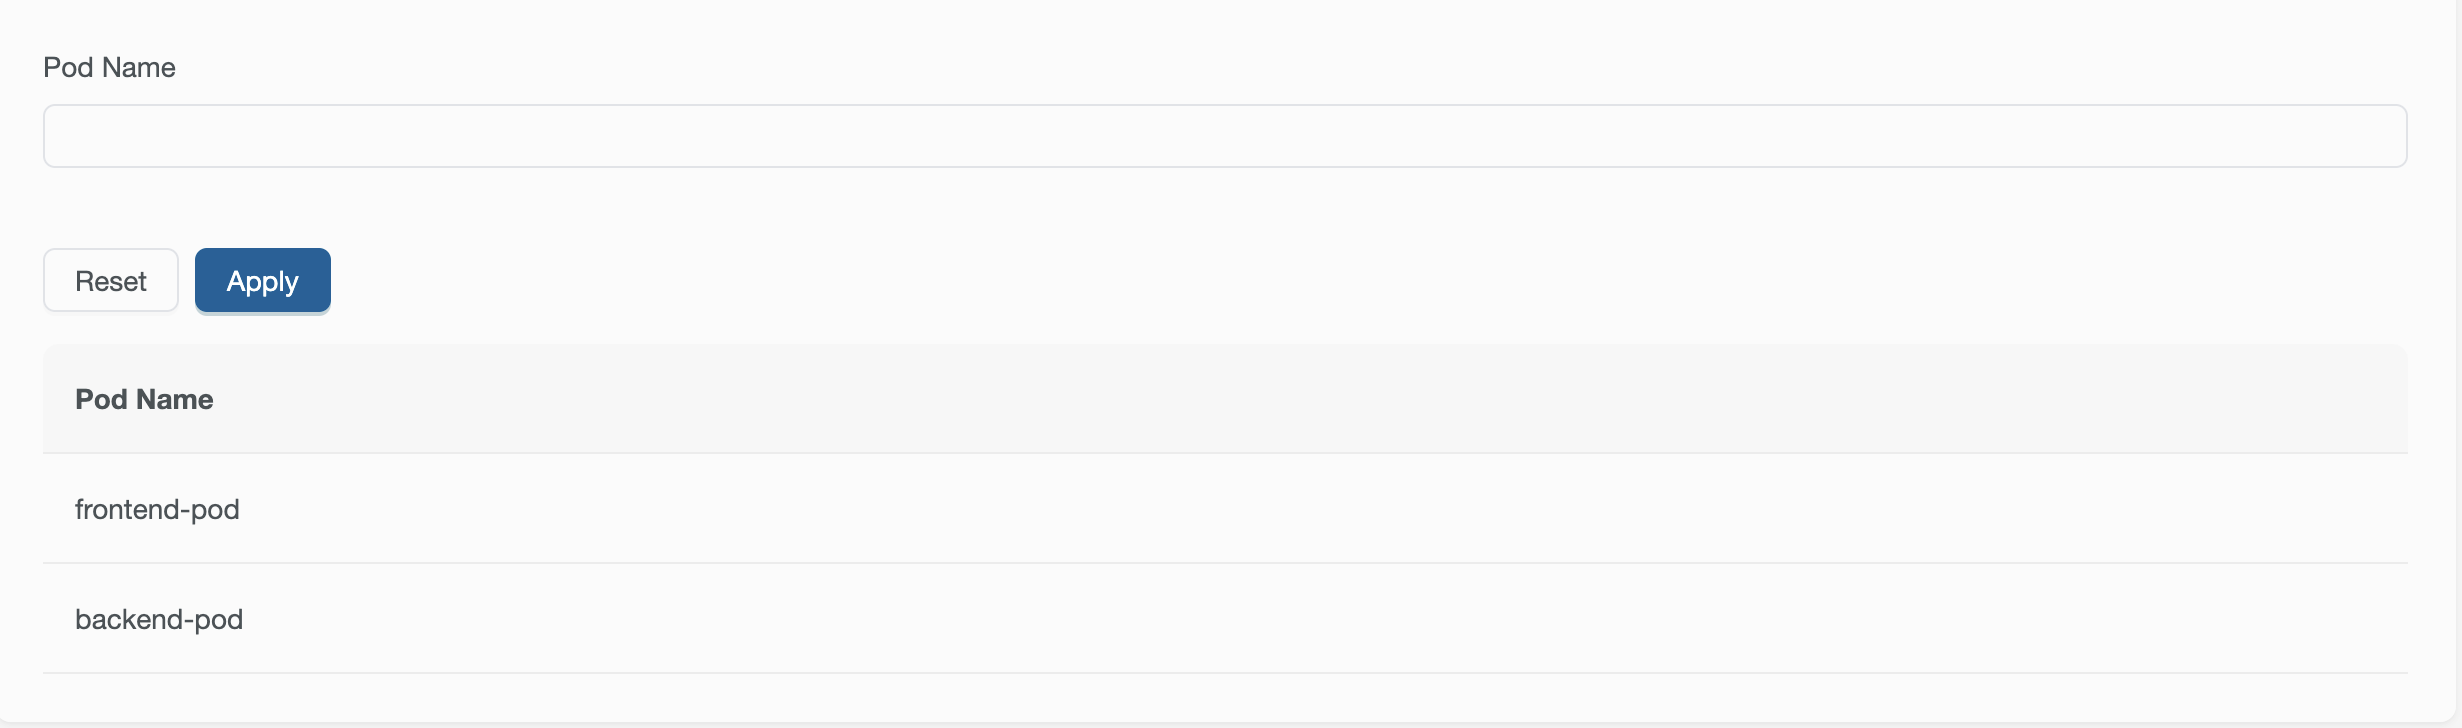
If prefix matches, the filter is automatically applied to the table when users interact with the Filters widget.